Getting Your Anatol Dryers Right: A Guide to Swapping IR Tubes
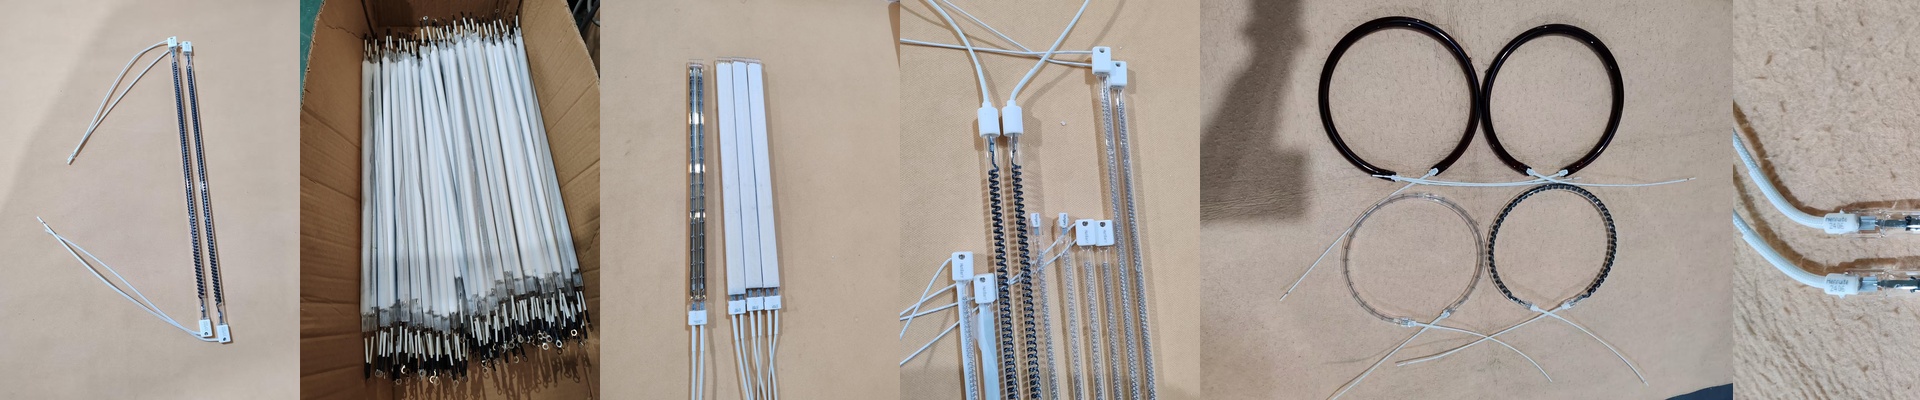
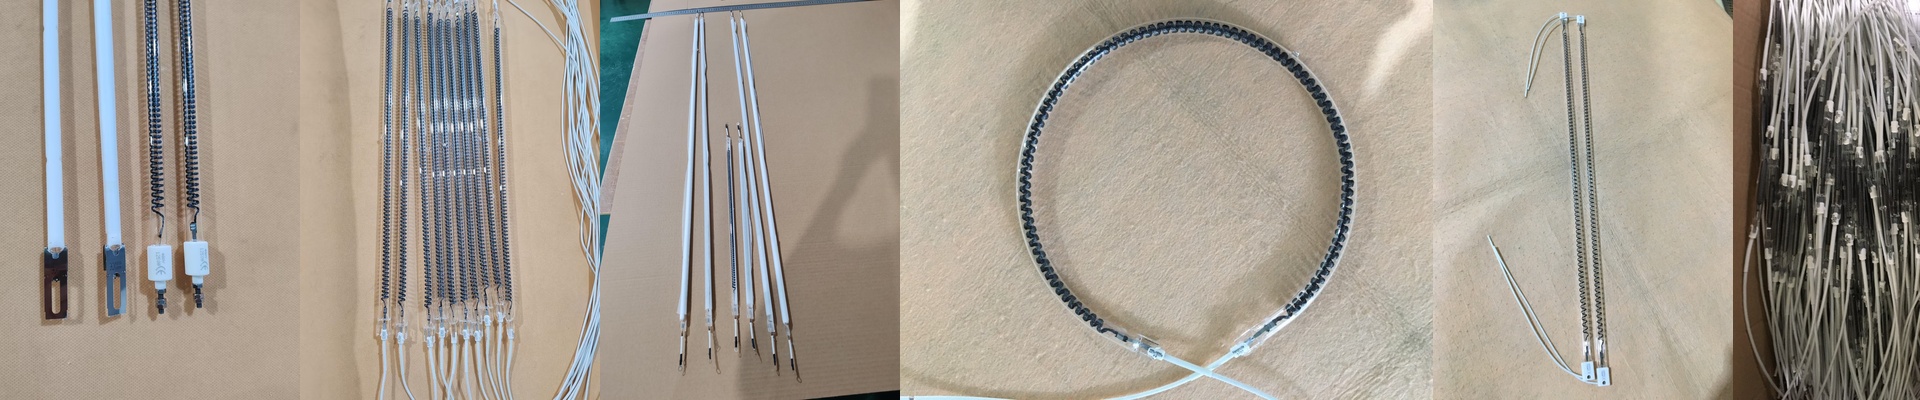
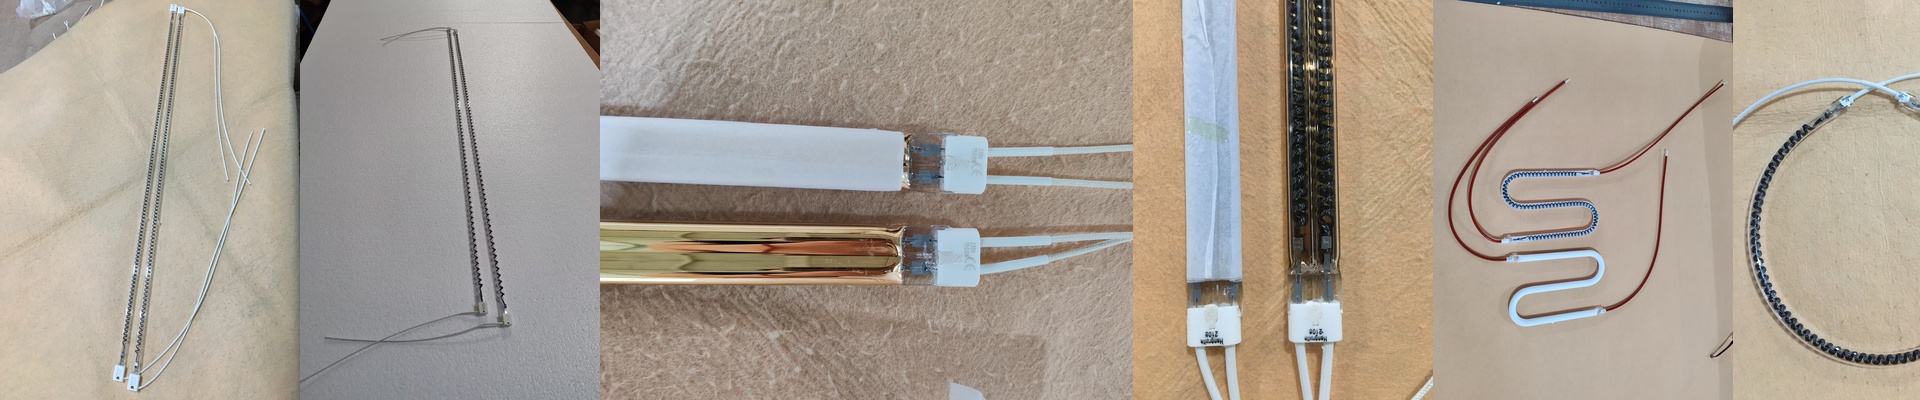
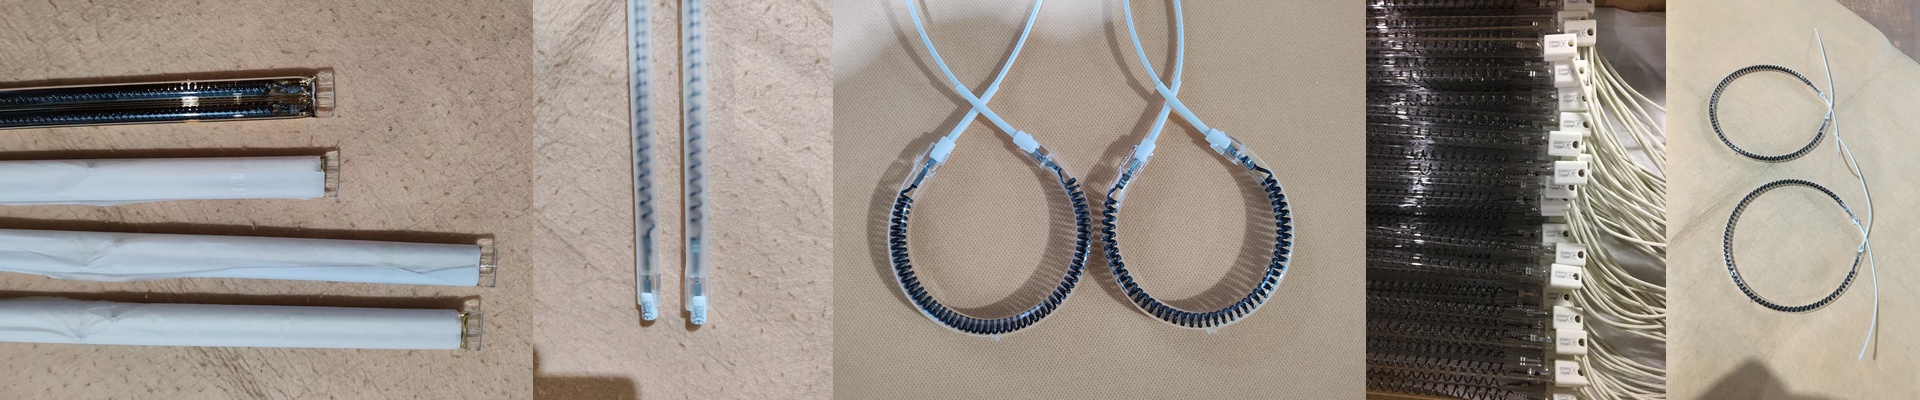
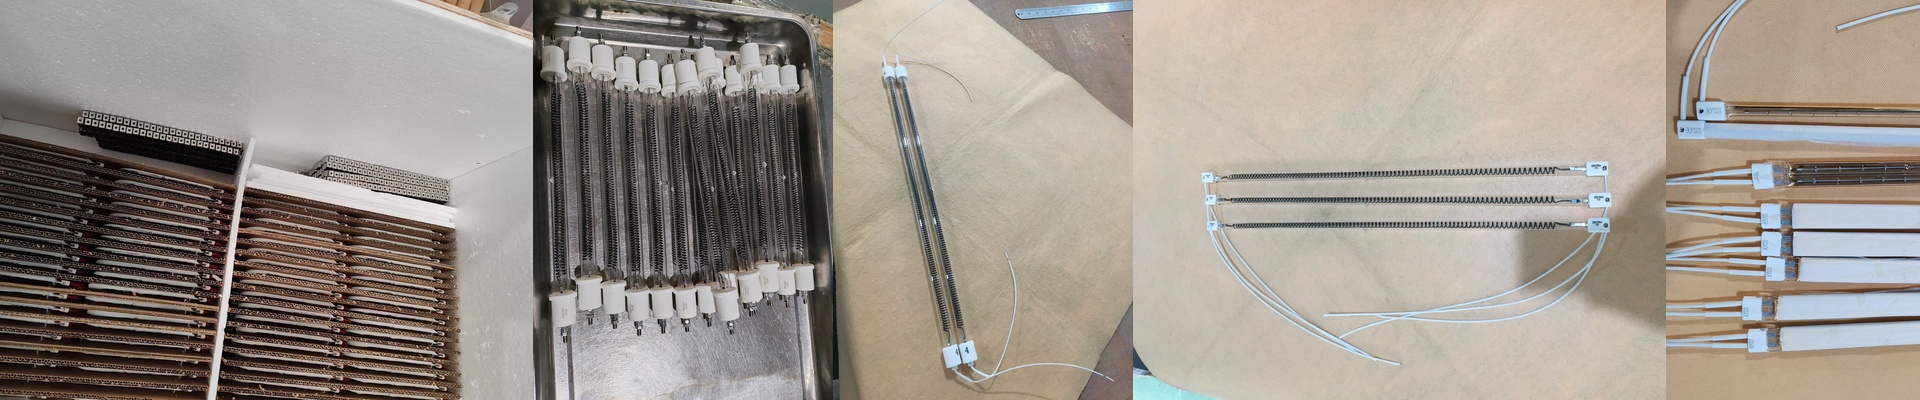
If you’re running Anatol inkjet printers, you know the deal. The infrared (IR) heat is what makes the ink snap-dry on the fabric. But when it comes time to replace those OEM bulbs, you don’t always have to stick with the expensive factory options. You can use domestic IR tubes, but you have to be smart about it. If you get the specs wrong, you’re either going to end up with ink that doesn’t cure or, even worse, you’ll scorch your fabric. Neither is a good look. The trick is in the heat. To get that same punch as the original, you’ve got to look at the wattage-to-length ratio. If your machine expects a certain voltage, the new tube needs to fit that footprint perfectly. If it’s off, the bulb will either burn out way too fast or just won’t get hot enough to do the job. We stick with high-purity quartz glass because it lets that shortwave radiation hit the ink fast and hard. Then there’s the build. We use halogen-filled quartz tubes. Why? Because they pack more heat into the same size bulb. Most of these use standard R7s or SK15 connectors. We make sure those connections are tight—really tight—because you don’t want any arcing when the current kicks in. Plus, the quartz is often coated. This keeps the energy focused on the ink where it belongs, instead of just heating up the metal frame of your machine. Installing them is the easy part. These are basically drop-in replacements. You wire them into your existing controllers and you’re good to go. But here is the thing: some of these high-wattage domestic tubes can actually run hotter than the originals. If you decide to crank up the wattage to speed up your production, you’ve got to check your cooling fans. They need to be able to handle that extra ambient heat. If the housing gets too hot, you risk warping the reflector. Just keep your airflow clear, and your tubes will last much longer.