Getting the Heat Right on Your Anatol Printer
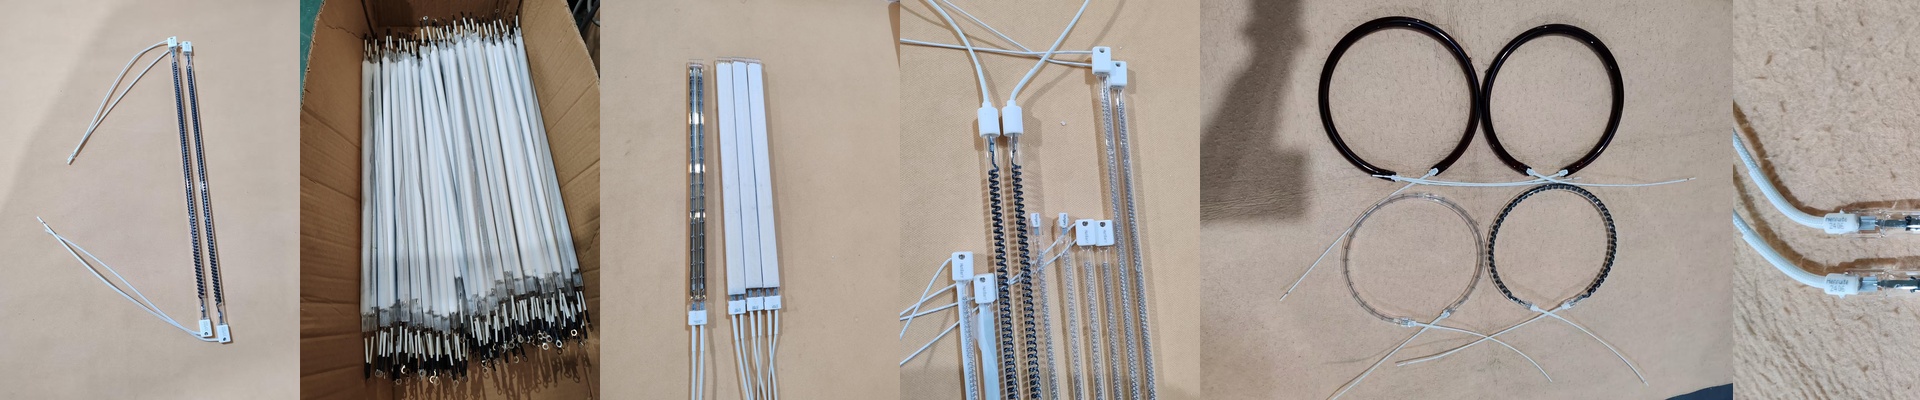
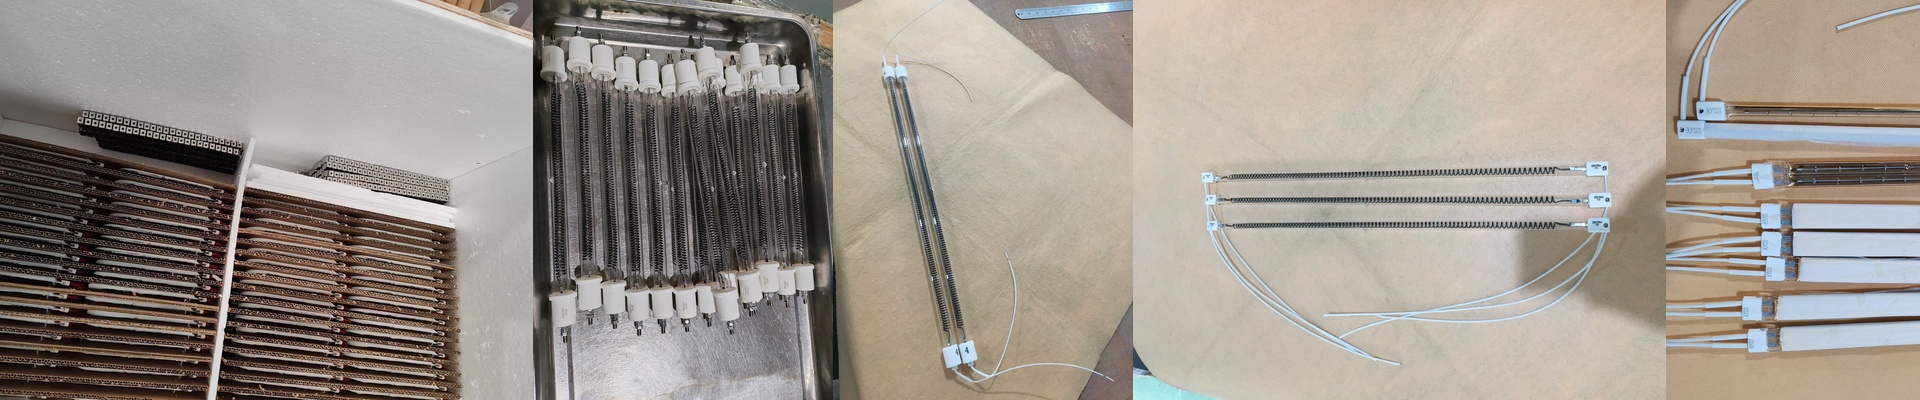
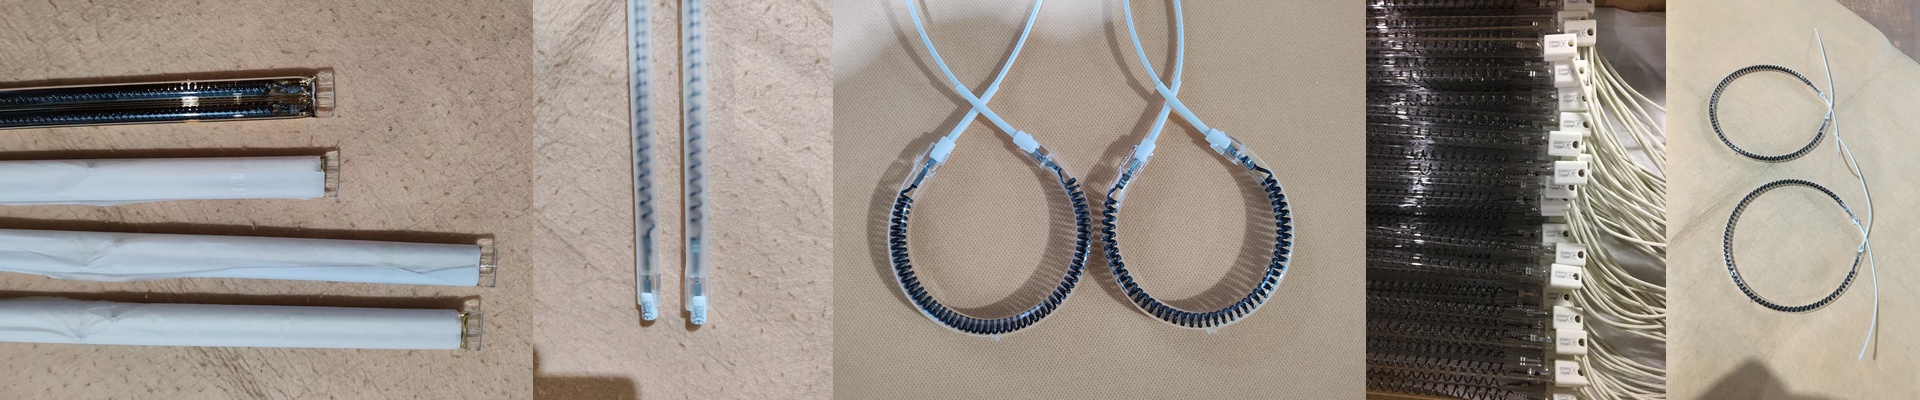
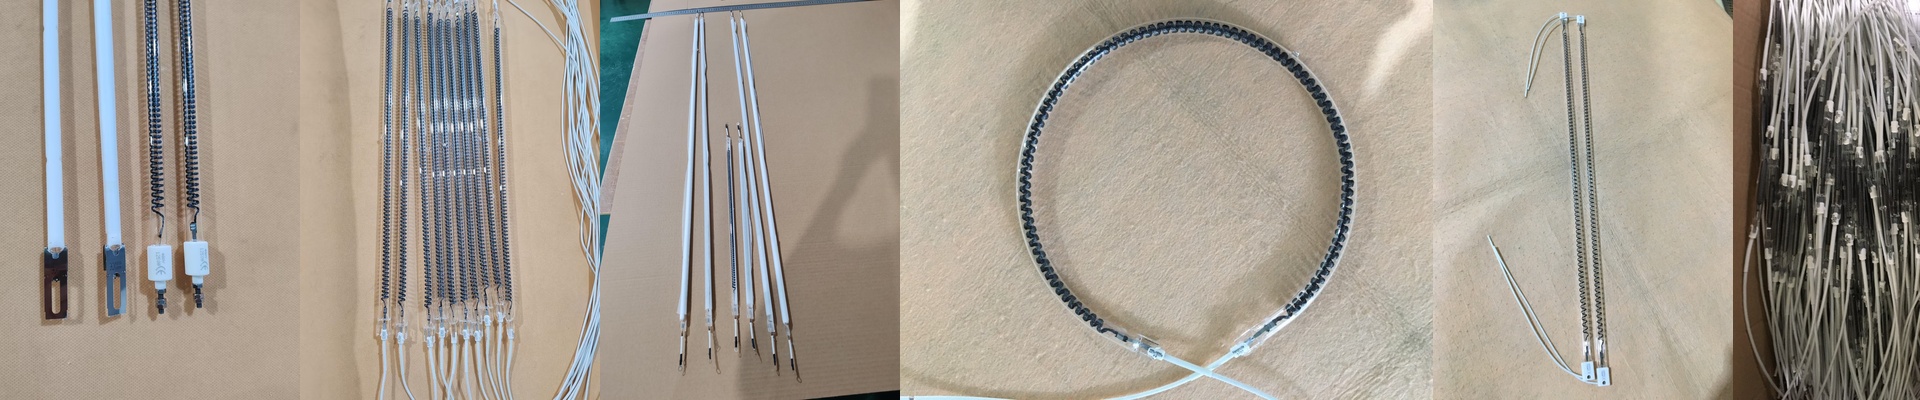
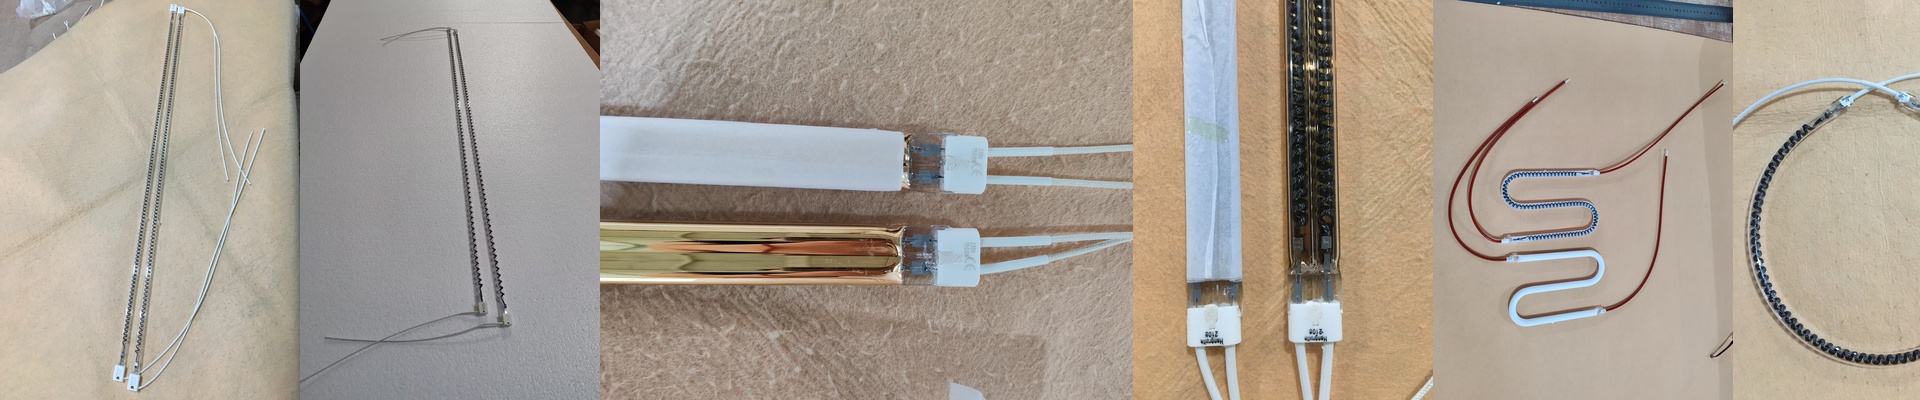
If you’re running an Anatol machine, you know that curing automotive glues and inks is all about the heat. It has to be just right. When you decide to swap out those expensive OEM lamps for domestic infrared tubes, the goal is simple: get the same heat hitting the part without frying your power supply. The math behind the heat Here’s the thing about power density. You can’t just throw a high-wattage bulb in there and call it a day. If the tube is too big, you’ll get patchy curing. We look closely at the wattage-per-centimeter to make sure the heat flux matches what the factory intended. Most of these setups rely on short-wave IR to snap that surface cure quickly. We make sure our tubes play nice with the Anatol control board—same voltage, same amperage. If you get that wrong, you’re just waiting for a fuse to blow or an alarm to scream at you. Materials that actually last We use high-purity quartz glass. Why? Because cheap glass warps when things get hot, and that’s a nightmare you don’t want. For the glue-heavy jobs, we often add a special coating to the quartz. It tweaks the emission spectrum so the heat actually sinks into the adhesive instead of just bouncing off the top. And a quick tip: watch your connectors. They’re usually where things go south. We use industrial terminals that lock in tight. A loose connection causes arcing, and before you know it, you’ve burned out the whole socket. The trade-offs You can absolutely get the same performance from a domestic tube, but you have to keep an eye on “heat soak.” When you push for higher power density to speed up your curing times, the lamp housing takes a beating. You’ve got to make sure your cooling fans can actually move that extra heat away from the electronics. If the airflow isn’t there, you’ll kill the life of your components. Before you start a full production shift, grab a pyrometer. Check the surface temp. Once you see it matches the original specs, you’re good to go.