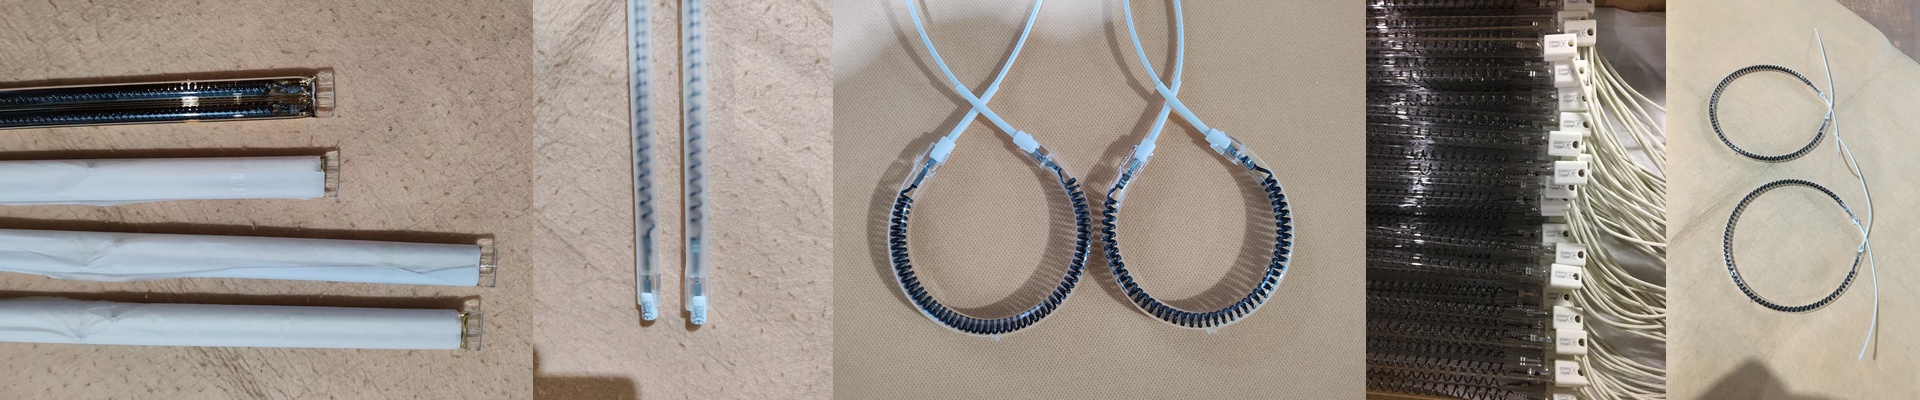

Fixing the Heat Gap in Adelco Tunnel Ovens
If you’ve ever managed a long-distance tunnel oven, you know the nightmare of the “cold spot.” One tiny dip in temperature halfway through the line and suddenly you’re staring at a pile of scrapped parts and uneven curing. It’s frustrating. We deal with this by rethinking how IR lamps are set up for those long footprints.
The battle for a steady temperature
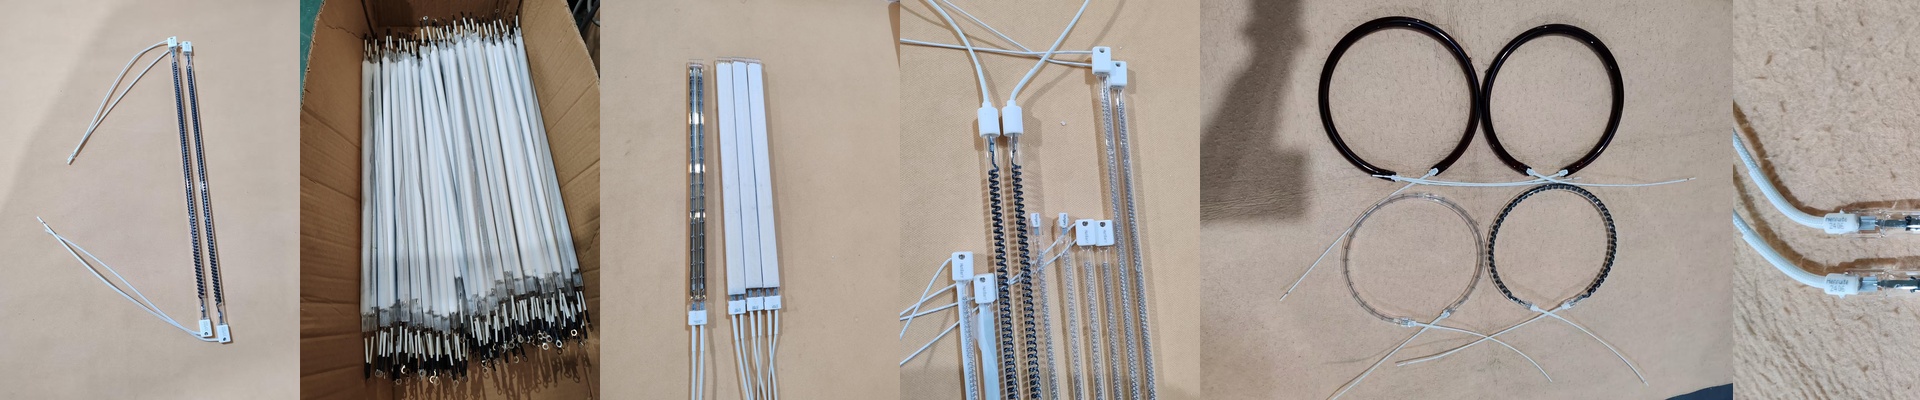
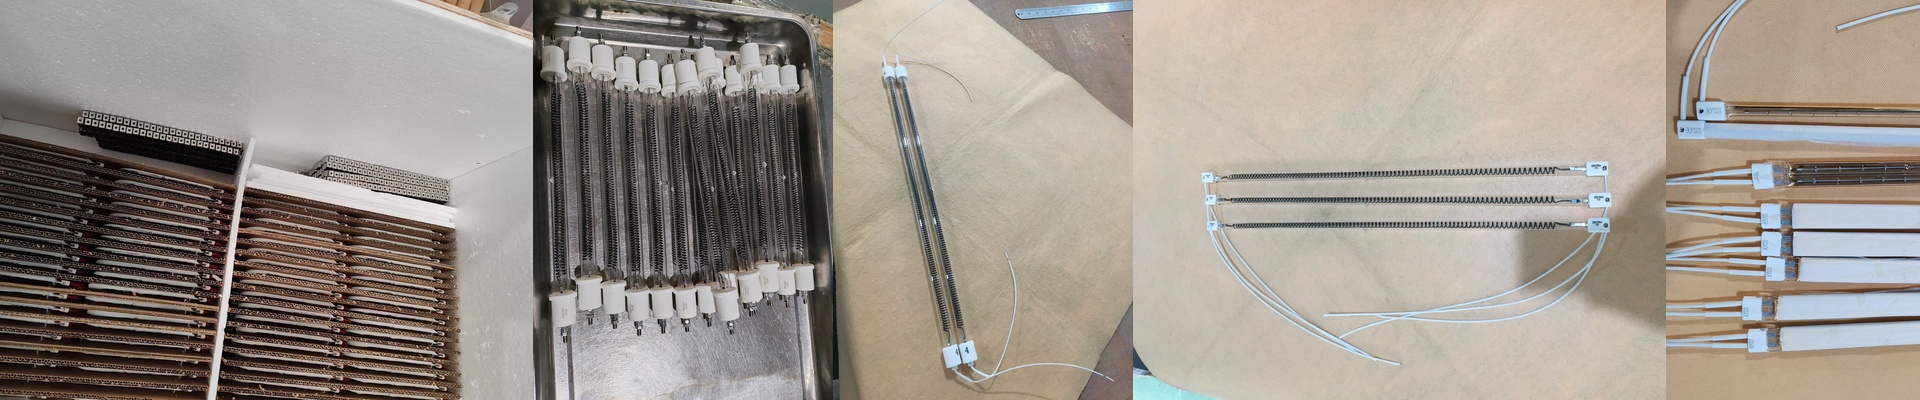
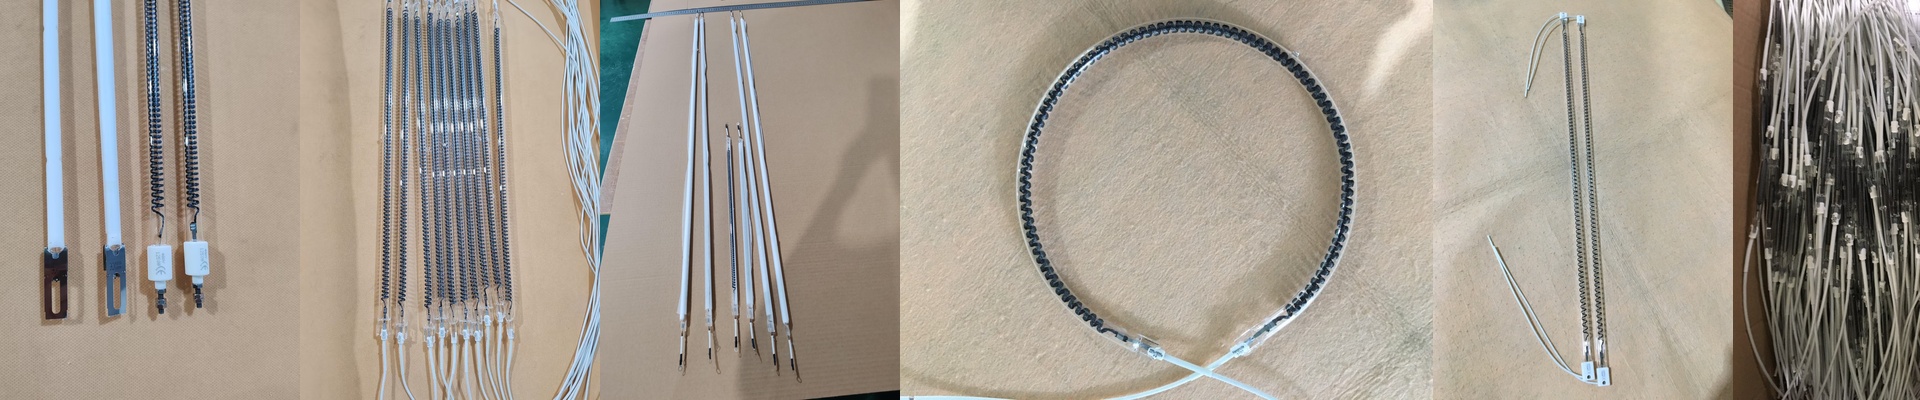
Here’s the thing: most long tunnels struggle because the heat just drops off between the lamp banks. It’s not a smooth ride. To fix that, we use high-wattage quartz elements that keep the radiant flux steady. You need a lamp that doesn’t flicker or fade while your product is moving. We keep the wattage tolerances incredibly tight across the whole tube. This stops that annoying “zebra effect” where your parts come out over-baked in some spots and raw in others.
Gear that actually lasts
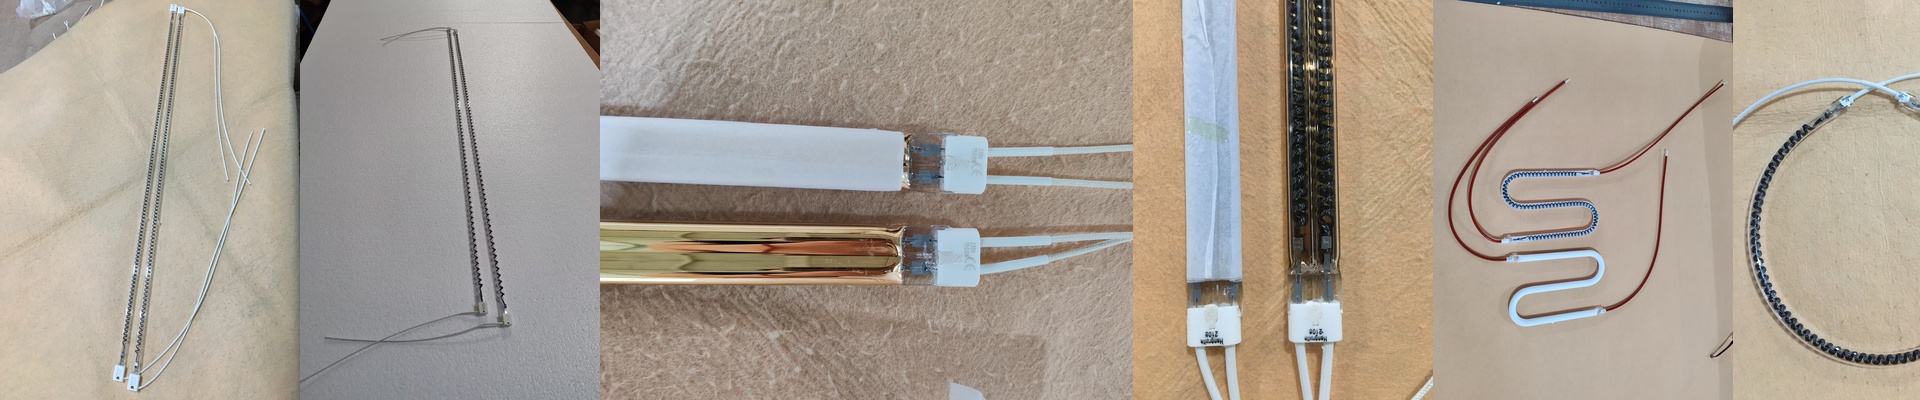
We don’t use flimsy bulbs here. We use heavy-wall quartz glass because industrial lines run 24/7 and they’re brutal on equipment. These lamps are built to handle power surges and constant heat without cracking. Plus, we make sure the connectors match the original Adelco footprints. They just slide right in. No rewiring your racks, no drilling new holes in brackets, and no headaches.
The catch: Heat vs. Airflow
Now, more wattage sounds great—it means faster ramp-ups and deeper heat penetration. But there’s a trade-off. When you cram that much heat into a tight tunnel, the area around the lamp housing gets scorching. If your cooling blowers can’t keep up, you’re going to melt your wiring or warp your reflector shields. Before you jump to a higher wattage, do yourself a favor:**double-check your airflow rates.**It’ll save you from a very expensive meltdown.